I finally decided I really needed a rack to hold all of my threads. I was getting really tired of digging through my drawer trying to find the exact shade I need or needlessly purchasing thread I already have!
I thought about buying one, but HEY, I have a handy, dandy hubby who is perfectly capable of BUILDING one for me! And he sure does love doing projects for me (why yes, I am a lucky gal!).
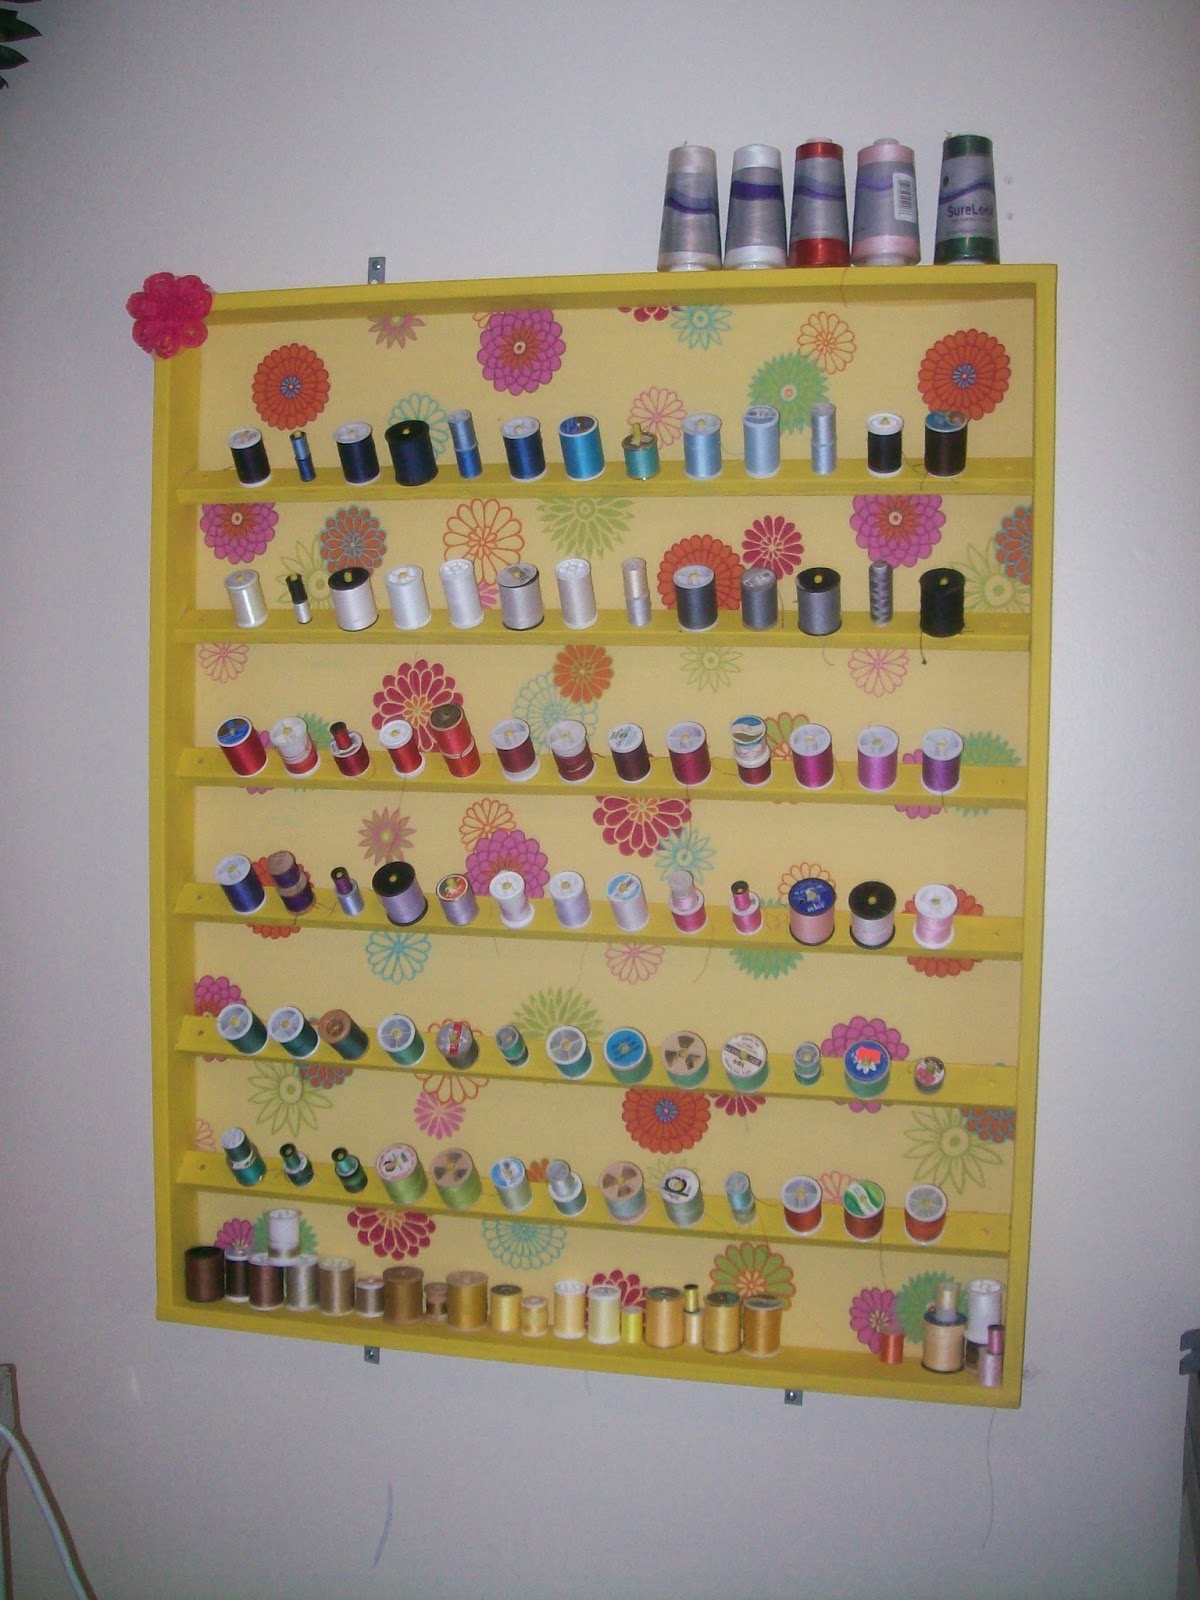
So we went to Lowes and picked out some wood and some dowels and TA-DA here is my new thread rack!
I will take credit for the paint and the fabric across the back and for my cute flower in the corner and for them not all being at the exact same angle, lol, I got impatient and did not carefully make sure they were all tilted exactly alike before I glued them. But, I LOVE, LOVE, LOVE, my new thread rack.
It could even be made for less or for free by using reclaimed materials!!!
Easy Peasy Baby!
Sunday, March 10, 2013
Deployment Yellow Ribbon Bag
A few weeks ago I did a project for a customer. I was very honored to create this bag for her, honoring her husbands service in the U.S. Army.
I created this bag using one med. size Army top. Tutorial to follow in the coming weeks.
![]() |
| Front of bag using back of top, pockets and collar |
![]() |
| Side of bag using the lower half of the sleeve and re positioning the pencil pocket |
Subscribe to:
Comments (Atom)
Fun Collaboration
Hello There! I just finished up a two day collaboration with some amazing crafters on Facebook. It was all paper crafting but many differe...
-
Creating Tags is my latest obsession. You may recall seeing a few if you read the sermon journal post. These are some tags that I've mad...
-
Happy Valentines Day! Well almost anyway. I wanted to go through a step by step showing you how I create tags. If you read my previous...
-
Hubby and I learned to make handmade paper this past summer. Here are a few pictures. I'm feeling a tutorial coming on. So fun and e...


